Managing Rooms
Organize your devices by assigning them to rooms within your home.
Adding a Room
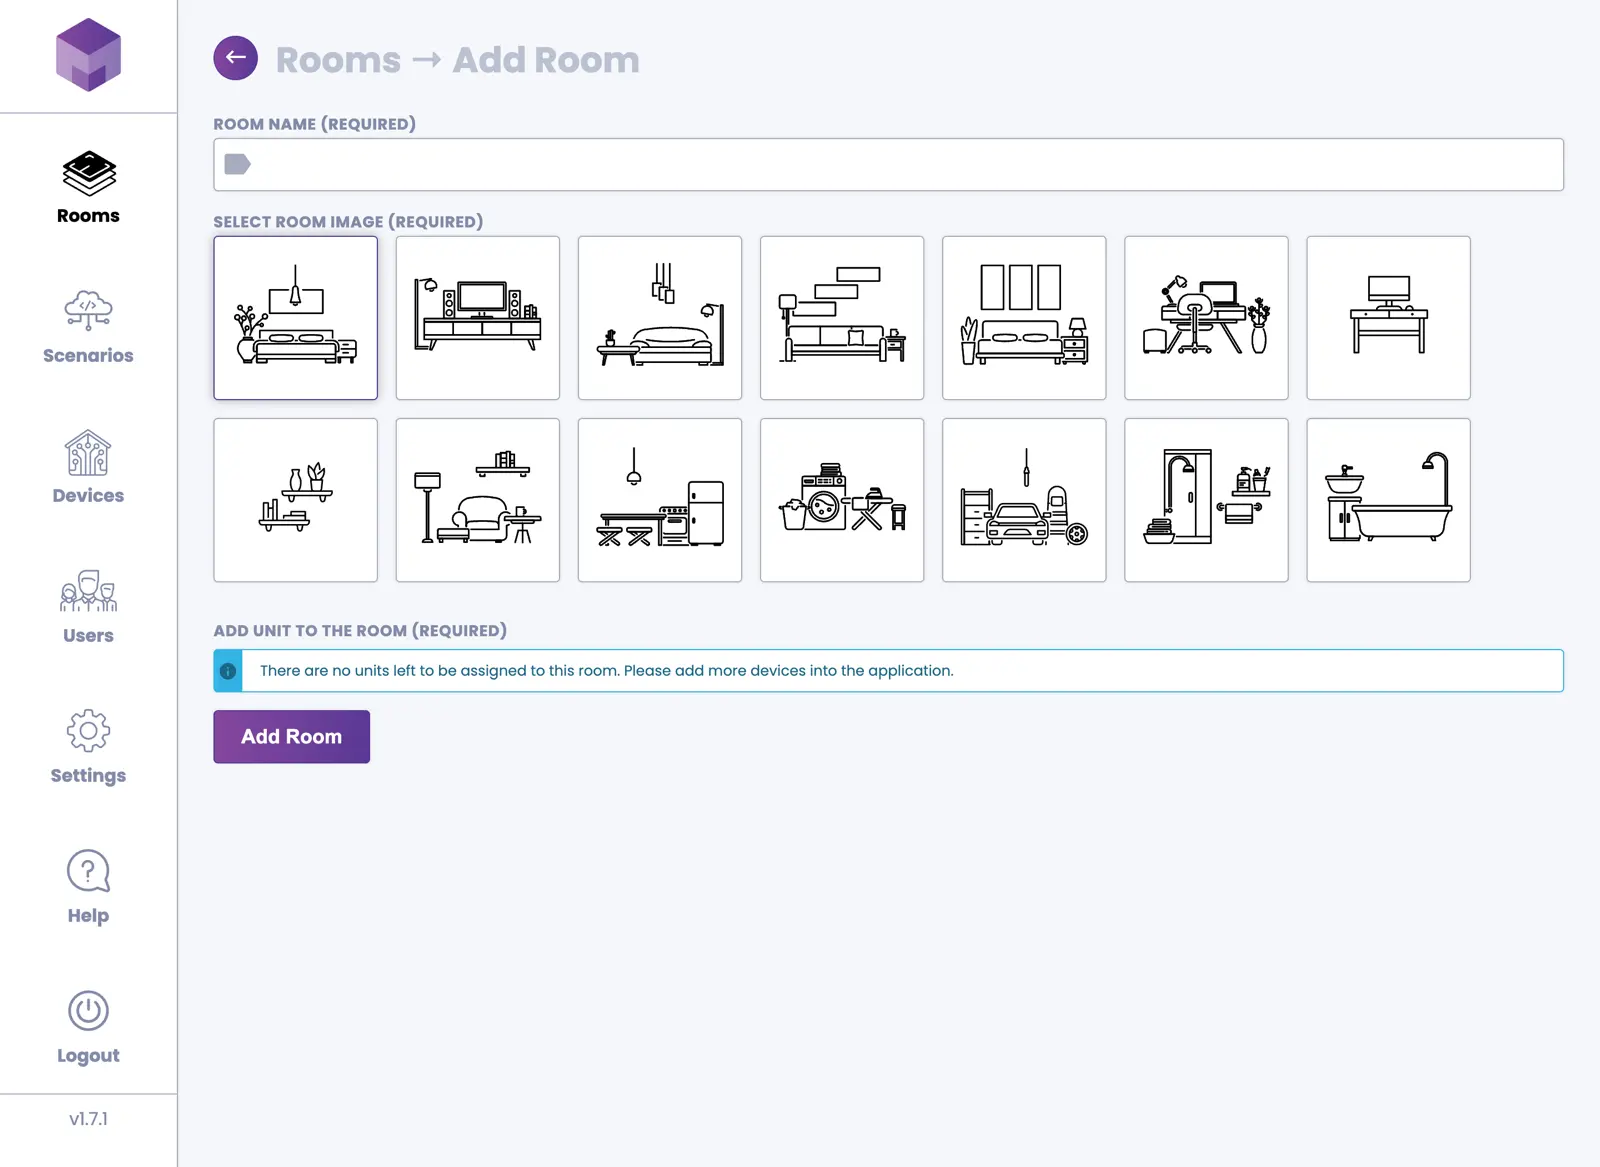
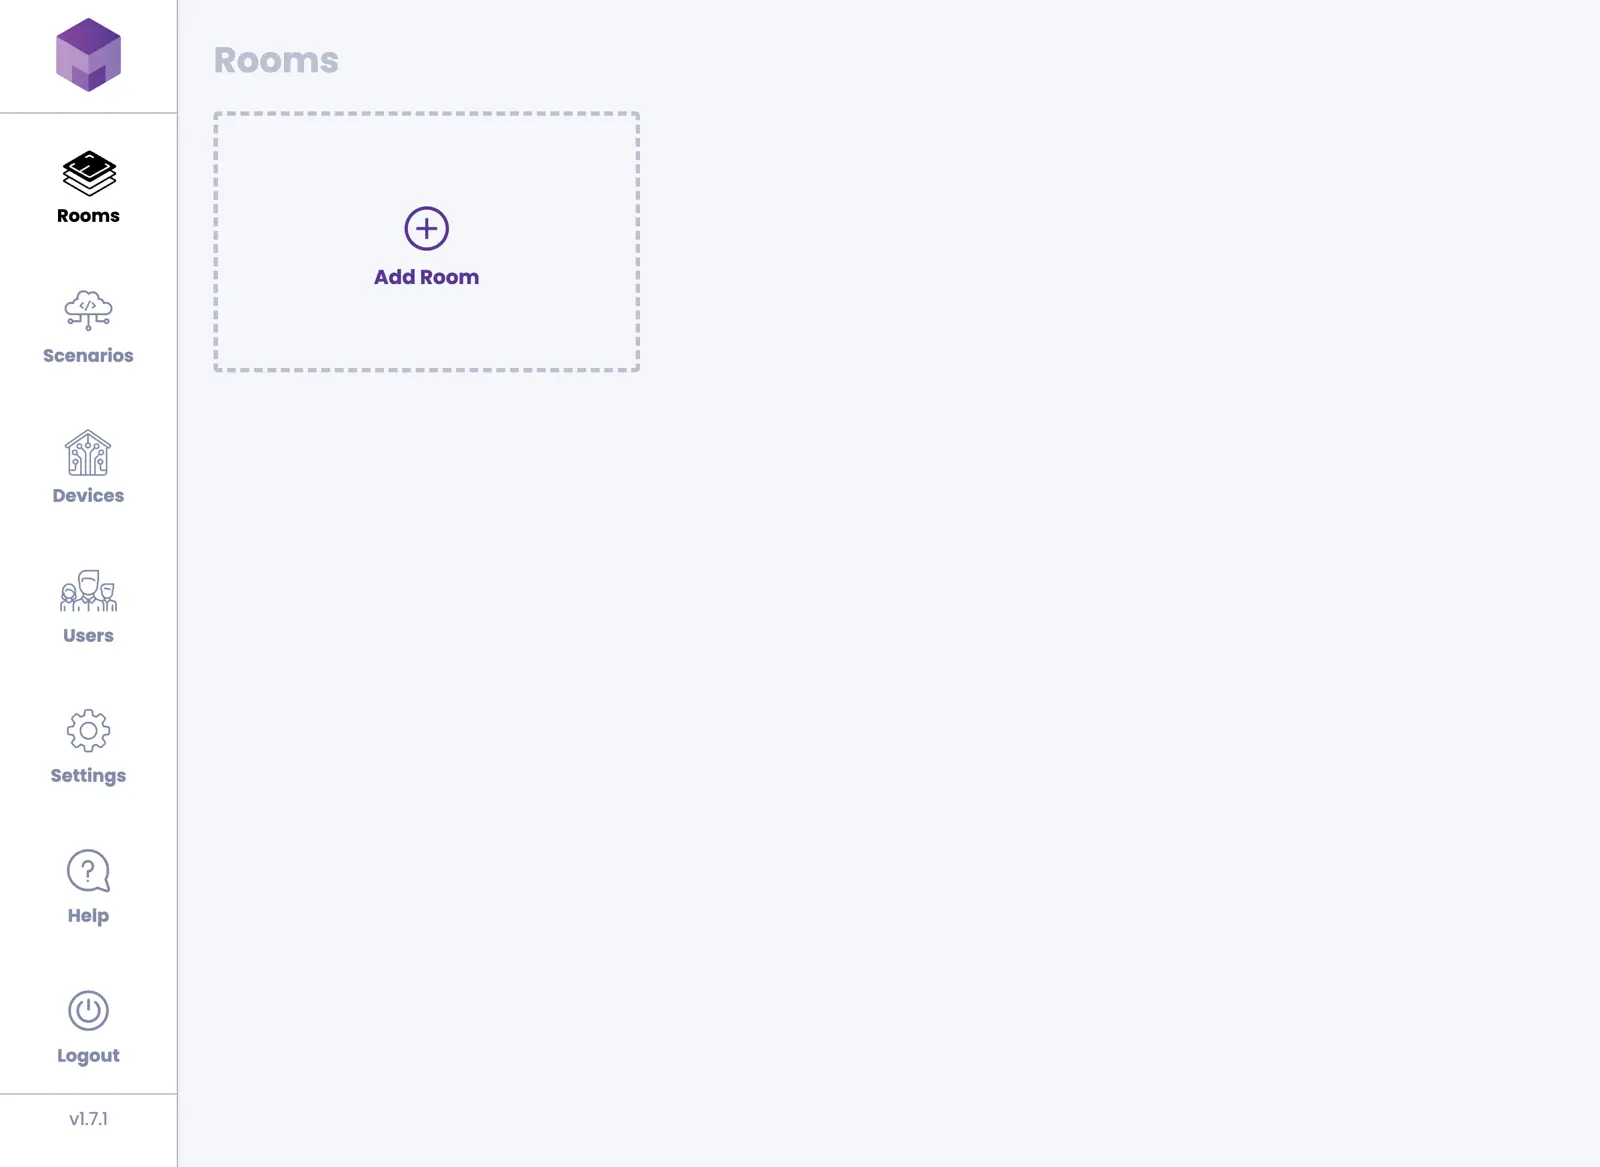
To add a room, press the Rooms navigation item if you are not already in that section. Press the large Add Room tile. You will be taken to the "Add Room" screen.
On the "Add Room" screen, you can now name your room and add an image that best represents the room where your device(s) will be installed. Once you are happy with your choices, press the Add Room button.
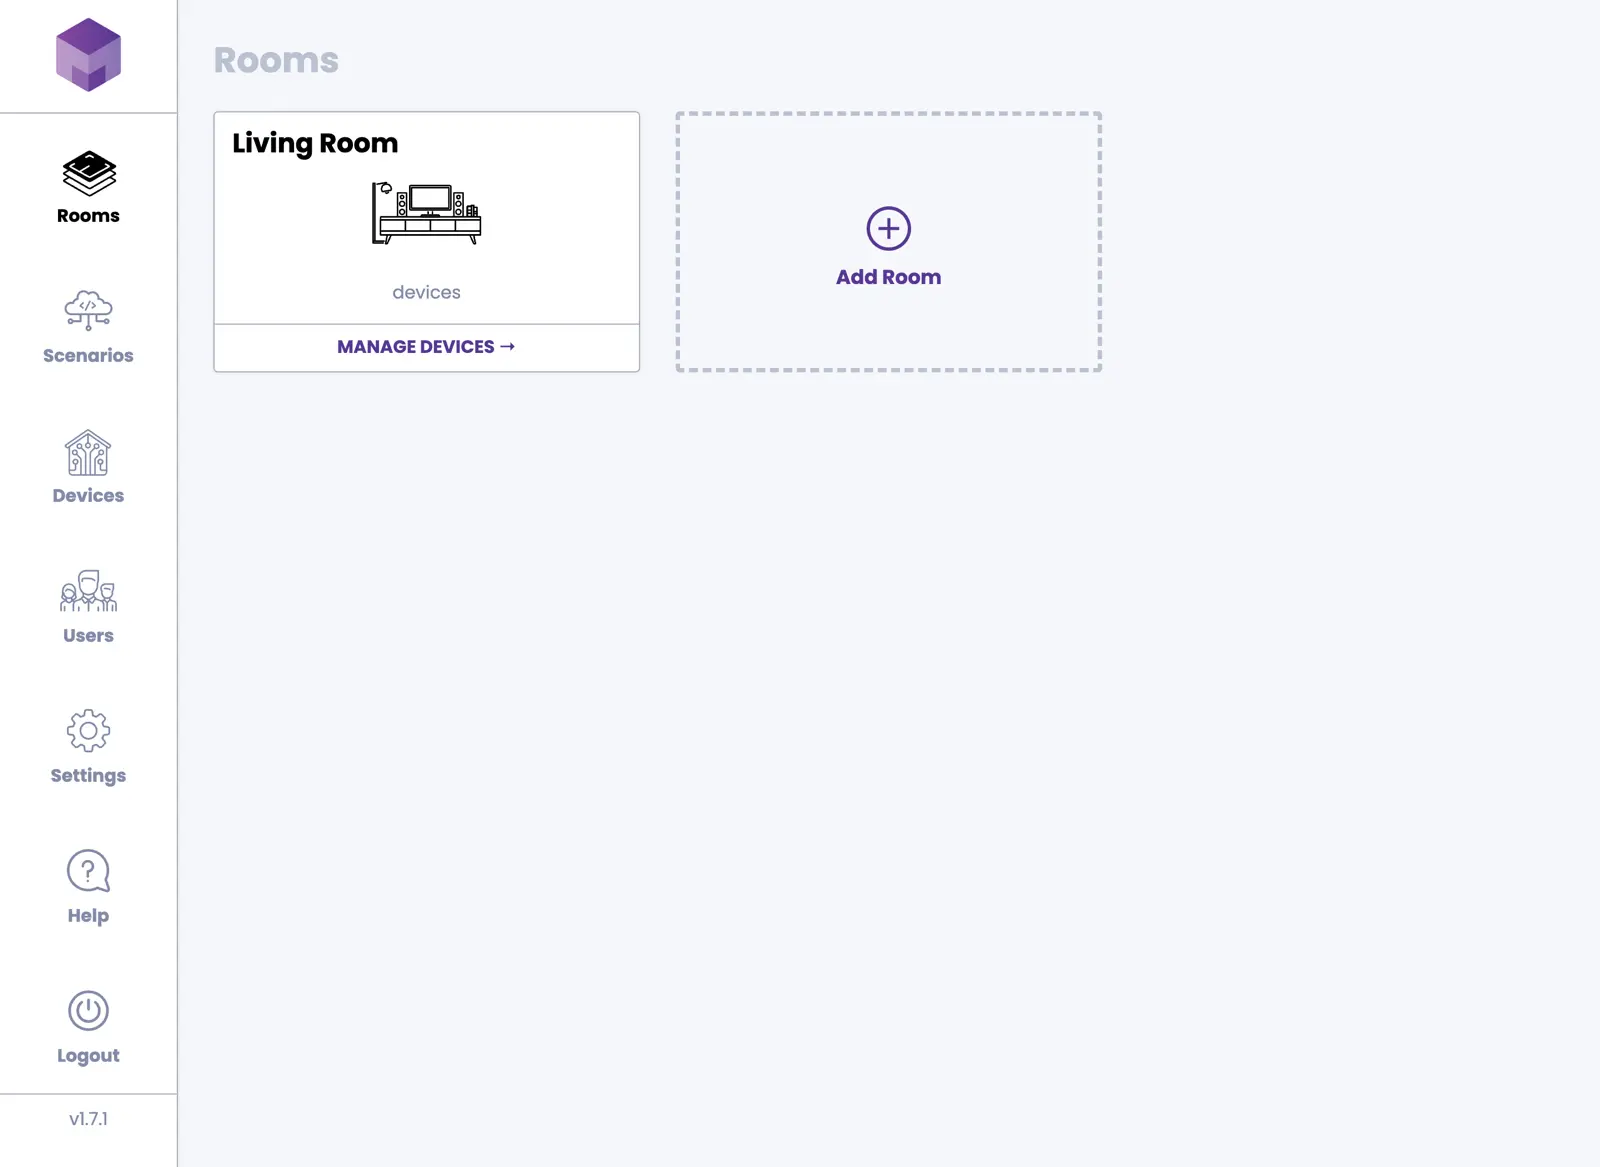
This will create a new room and display it in the Rooms section.
Editing a Room
To edit a room, press on the room that you would like to edit. This will open a list of devices that are registered under that room. In the top right corner, press the Edit Room button. You will be presented with the "Edit Room" screen. Here you can change the following:
- Edit room name
- Edit room image
- Add or remove devices assigned to the room
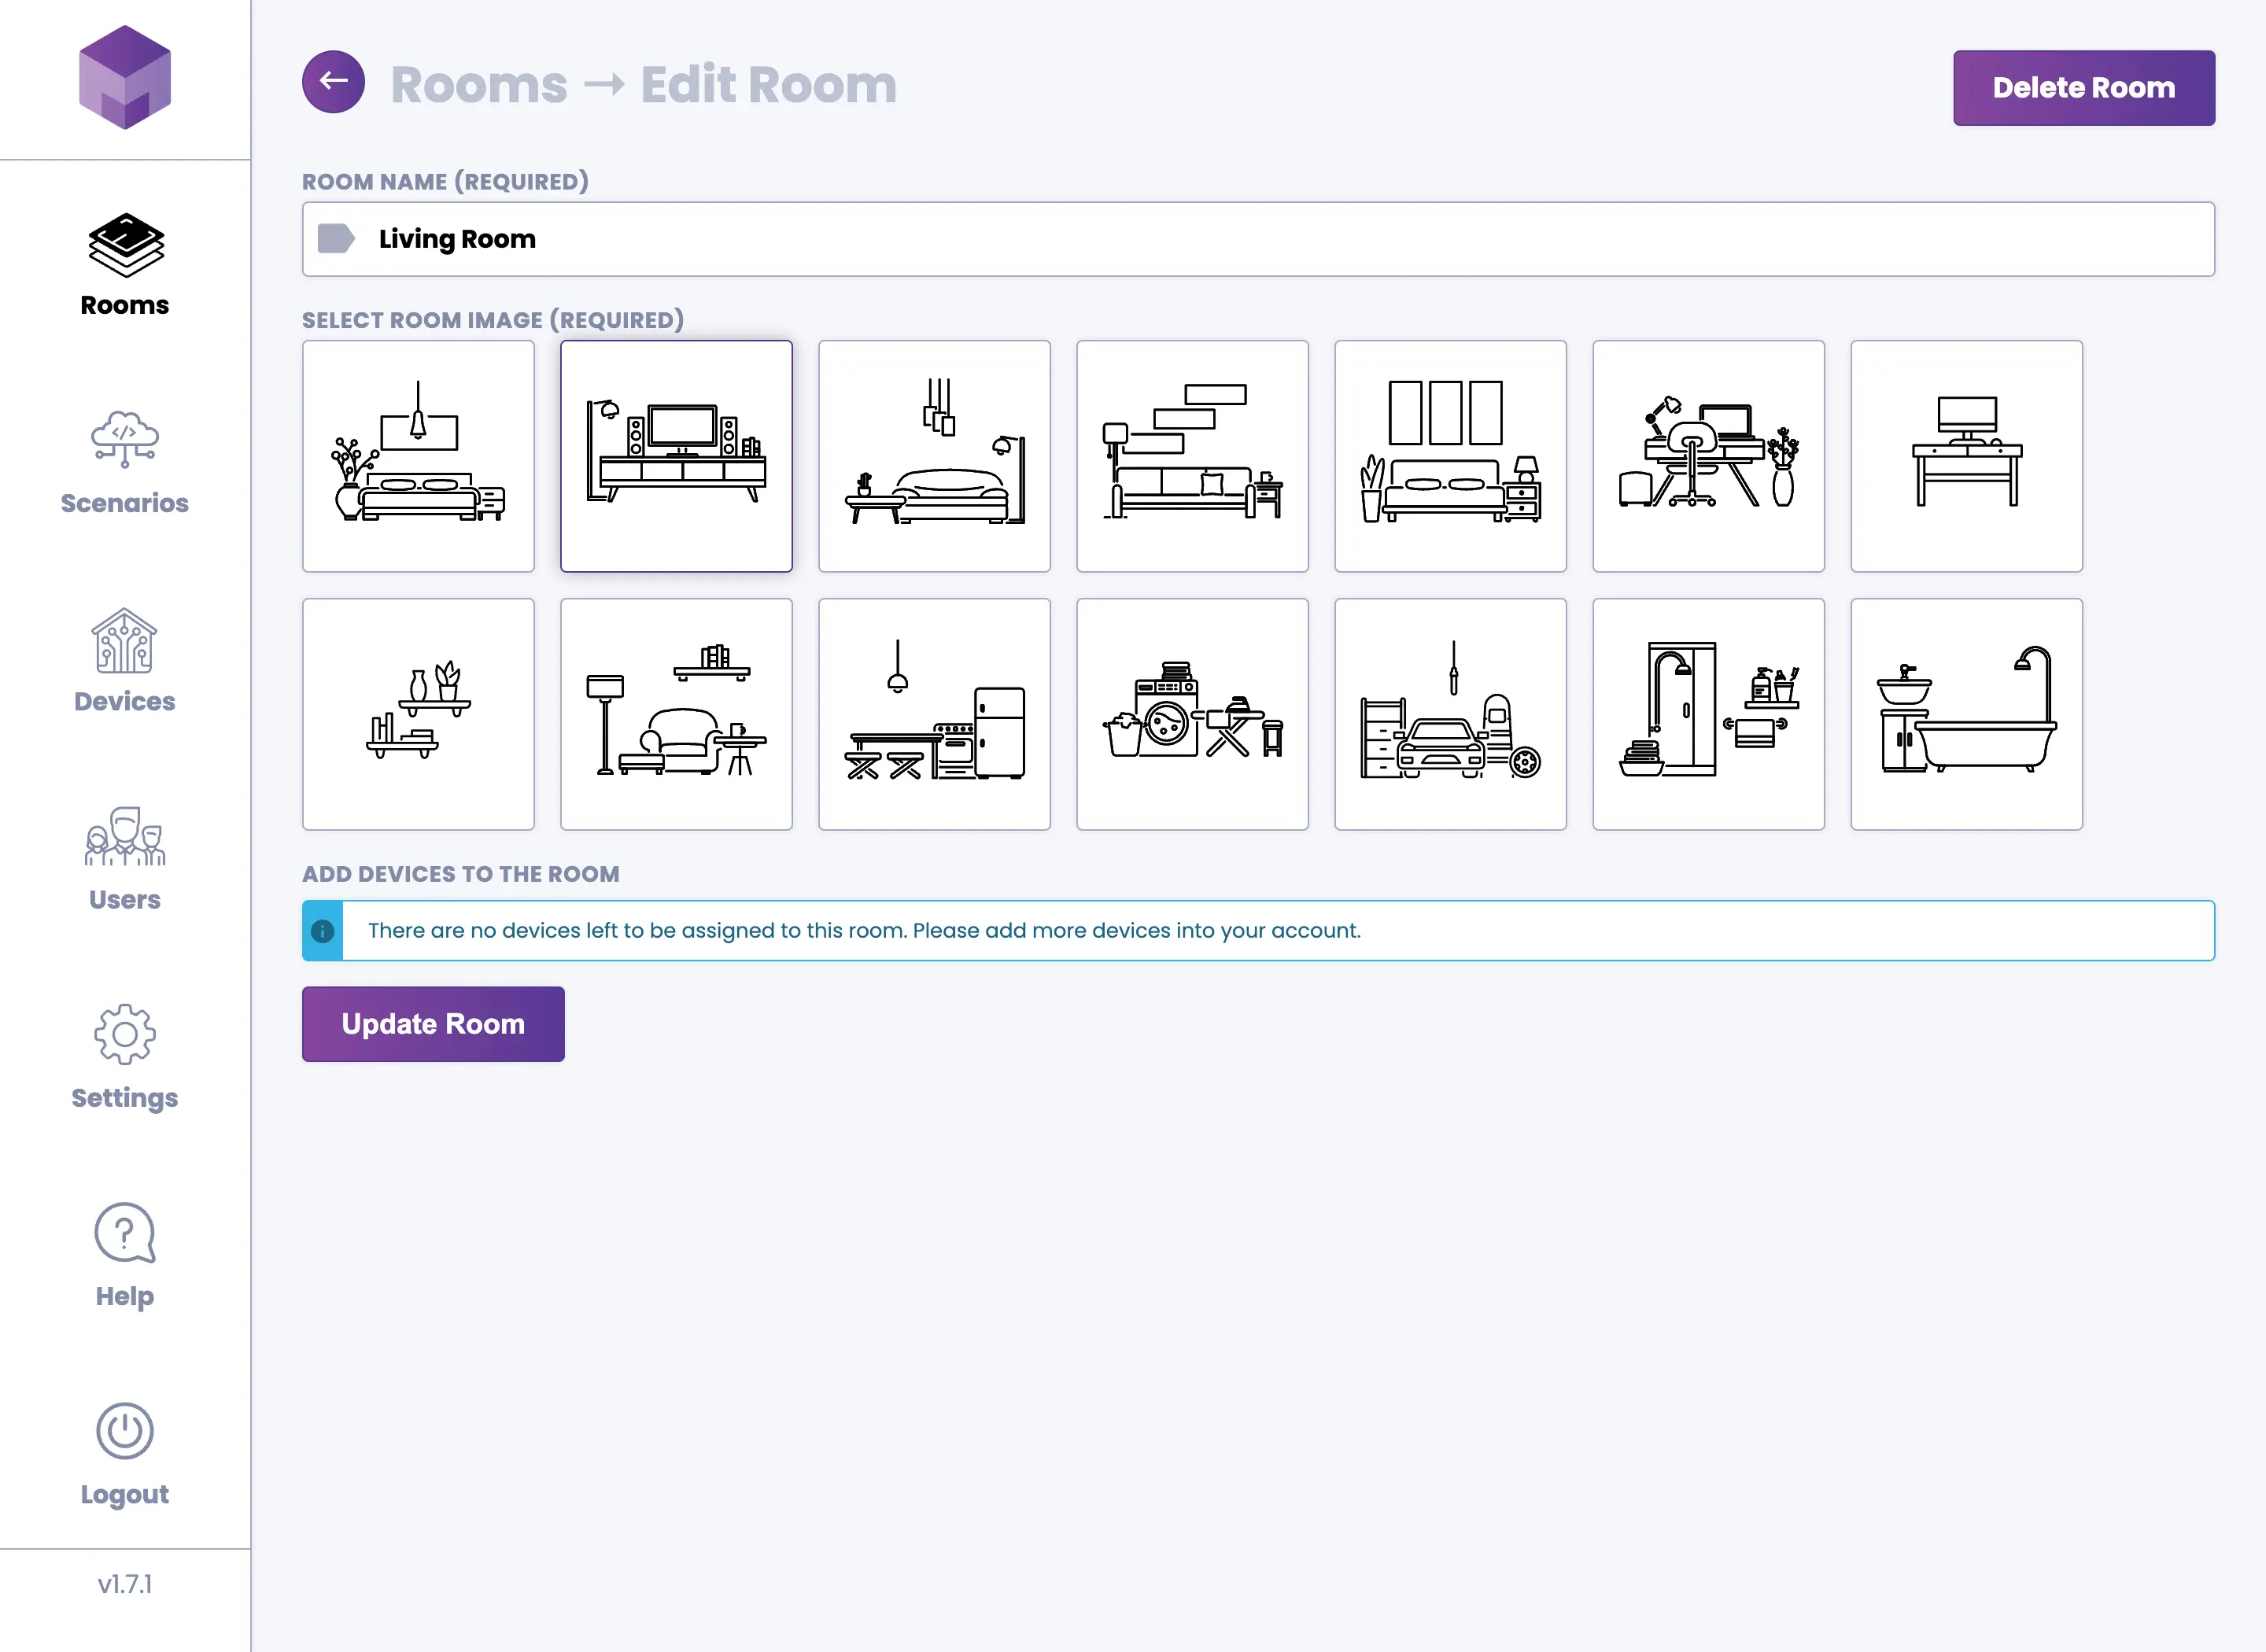
Deleting a Room
To delete a room, click on the room you would like to delete. In the top right corner, press Edit Room. Once you enter the "Edit Room" screen, press the Delete Room button in the top right corner. This will open the "Delete Room" screen. To delete the room, fill in the name of the room to confirm the deletion.
